How to Create a Navigation Menu Bar
Create A Stylish Navigation Menu Bar
In this example I will show you that how to create a stylish
navigation menu bar with Photoshop.
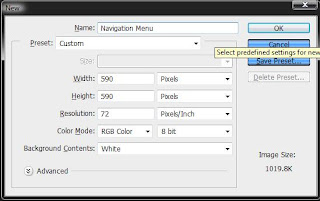
(I am using a background color for your help.) Then create a
rounded rectangle with the Rounded Rectangle Tool.(I am created 250*180 px)
Then Rastarize the layer. Now load the rectangle and create a new layer. Use
Gradient Tool from left sidebar. Choose the colors what you want for your
navigation menu. Now Press Shift + Down Arrow 4 times. Then press Delete. And
this is the main body of your navigation menu. Press Ctrl + D.
Type something what you want to involve into your navigation
menu. Use gradient color in your text. Now draw a line by pen tool which stroke
will 3 pt. Now leave it into the middle of two text. And do it for all. Now use
Gradient Tool from left sidebar and use a color. Then load the line layer and
gradient the lines. And your stylish navigation menu is ready. And now you can
create a more beautiful navigation menu than this example. So,
have fun with this experience. Thanks......


0 comments:
Please Give Valid Information.